A Project Management Led Approach To A New Kitchen
I said in this post which I called Reflections on Surviving Another Year, that 2015 will be the Year of the Kitchen.
I should say that I’ve only once done any real project management, but I did spent much of a working life reasonably successfully providing software solutions for project managers to use.
So let’s look at my kitchen today.


It’s a bit of a mess, but I know where everything is.
The problems are in addition to those highlighted in the pictures..
1. There is not enough space to put everything.
2. Where is my frying pan? It’s actually in one of the cupboards.
3. There are not enough electrical sockets.
4. The light is terrible.
5. I have only one sink with cheap and nasty taps.
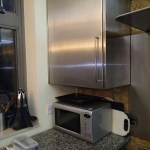
6. The cooker hood is broken.
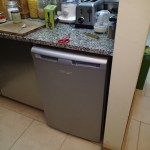
7. I don’t use the dishwasher, but it doesn’t work well.
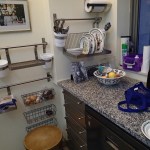
8. My style of cooking uses a lot of spices and they get everywhere.
9. There is no freezer in the kitchen
I can also lay down a set of objectives about the design and installation of the new kitchen.
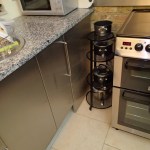
1. It must be capable of accepting a new AGA City60, after completion, if I should so desire. As all this requires is a flat floor, a 600 mm. wide space and a 32 amp connection, I could buy and fit one tomorrow.
2. Everything must use standard size cabinets.
3. There needs to be a button I can press, that activates a force field to chase unwanted visitors out.
4. I’m not without a sink, cooker or work surface for food preparation for more than a few days.
5. It would be nice if the freezer problem could be fixed early.
These inevitable lead to a series of work modules.
1. The area in the living room, where I would effectively create a workshop extension on the other side of the hole in the wall. This section would have a small under counter freezer, a set of drawers and some storage space. It would also cover up the central heating manifold.
2. The upper part of the wall behind the cooker, where I would replace the broken cooker hood and the two wall cabinets. A subsidiary objective here, would be to create more space to keep things out of the way of future modules.
3. The wall containing the sink by the window.
4. The side of the kitchen facing the living room.
5. The worktops and what I do to join the two halves of the back-to-back in-the-hole shared worktop. I have a very different idea for this.
The whole sequence might change, but if I do Module 1 first, it does tidy up the living room and allow me to finish it, get me a freezer and more space in the kitchen. I also don’t lose the cooker or the sink.
No comments yet.

Leave a comment